

There is also an alternative choice to turning the soil with a tiller or spade. The no-dig or light-dig garden preparation method calls for spreading soil amendments all over planting beds and allowing rain, wind, and soil organisms to naturally lift the amendments and their nutrients down into the soil.
Using the no-dig method, an inch or two of aged compost or herbal industry planting mix is spread across the soil a few instances a 365 days. That is referred to as sheet composting. Sheet composting will save your once more from the art work of deep digging. Sheet composting does not disturb the habitat of garden worms and soil microorganisms–which can also be the most important to very good garden soil. Worms and microorganisms are left to do the art work of soil building, naturally turning the compost you spread on absolute best of the soil into humus and making improvements to soil development and moisture retention.
The advantages of no digging and mulching can be gradual in gardens where there is little topsoil or where the soil is compacted or heavy with clay. Lean, heavy, and compacted soils would possibly need forking or spading once to simply ruin the soil ground. After that, the addition of an inch or two of aged compost and manure two or 3 times might be enough to improve the soil.
For many who use the no-dig sheet composting process, get started making in a position final season’s planting beds a month or two or further previous to you propose to plant. Get in a position the vegetable garden for planting by the use of breaking aside lumps of soil then together with compost and manure leaving enough time for snow or rain or irrigation and wind to art work the amendments into the ground.
Simple vegetable planting bed preparation and building
Observe the ones steps to prepare planting beds for the new season without a lot digging:
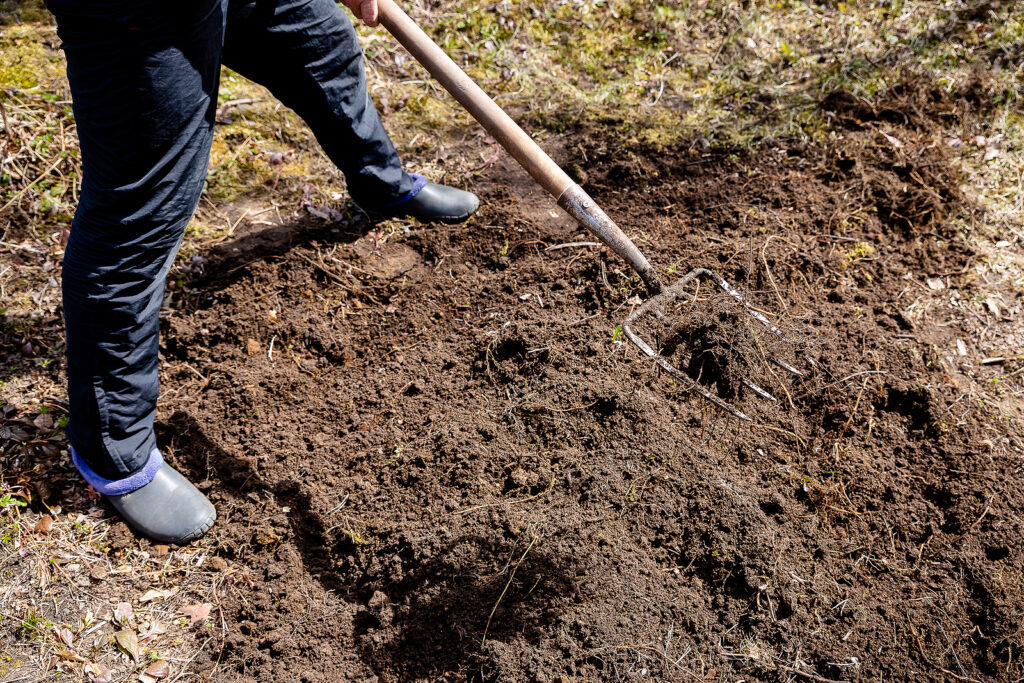
- Use a garden fork–not a spade or rototiller–to loosen compacted soil in planting beds or to break up ground clods. You are able to do this throughout the fall, late wintry weather, or very early spring. Keep away from running in planting beds when they are too wet; you’ll be able to inadvertently compact the soil; plant roots can’t thrive in compacted soil.
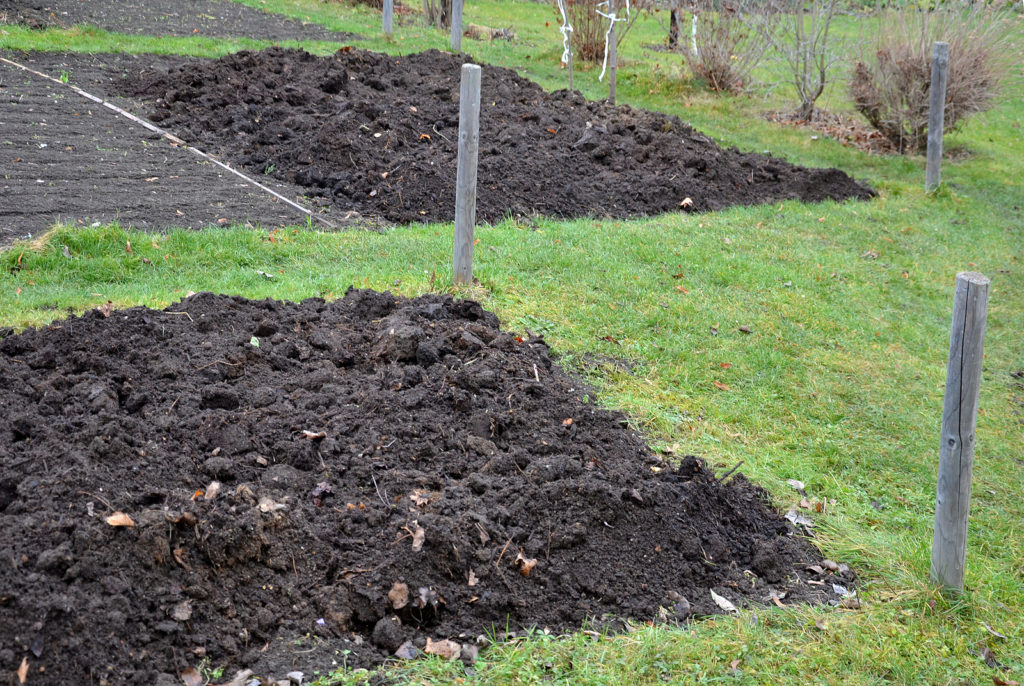
- Spread 2 to 4 inches (5-10cm) of aged compost across the planting bed; or spread 1 inch (2.5cm) of well-rotted manure and 1 or 2 inches of aged compost across the bed. Let wind and rain art work the soil amendments into the bed for a few weeks or even month or two. Let worms and soil microorganisms ruin down the compost and manure.
- For many who use a garden fork merely lightly turn the compost and manure underneath after it has sat a couple of weeks. Do not over-turn planting beds; a great deal of digging can harm the microenvironment where soil organisms live.
- For many who use a tiller, run the blades slowly so that the soil life is not overly disturbed or harmed.
- Mulch: As quickly because the planting bed has been in a position, add any other inch or two of aged compost or herbal mulch across the bed. This may increasingly increasingly more prevent the soil from losing moisture and protect the bed from air temperatures too cold or too warmth until you plant.
Identical articles of interest:
Making Compost for Your Vegetable Garden
Making improvements to Garden Soil with Herbal Amendments
Your Vegetable Garden Soil
Plant Nutrients
Vegetable Plant Nutrients: Sources and Deficiencies
One of the simplest ways to Fortify Clay Soil


